Introduction -
Creases on shoes can be a source of frustration for many footwear enthusiasts. Do you have a favorite pair of sneakers or leather shoes? Creases can make them look worn out and detract from their appearance. Fortunately, there are many good ways to know, how to remove creases from shoes. They will restore your shoes to their former glory.
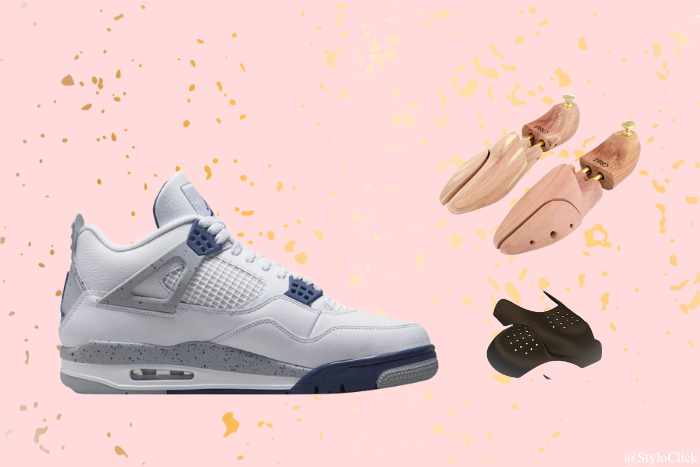
Tools You'll Need:
- Shoe trees or rolled-up socks
- An iron
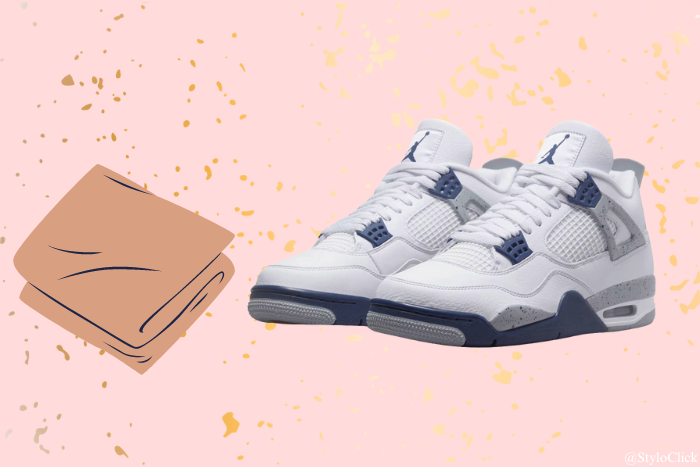
- A damp cloth or paper towel
- Towel or cloth
Step-by-Step Guide: How to Remove Creases from Shoes
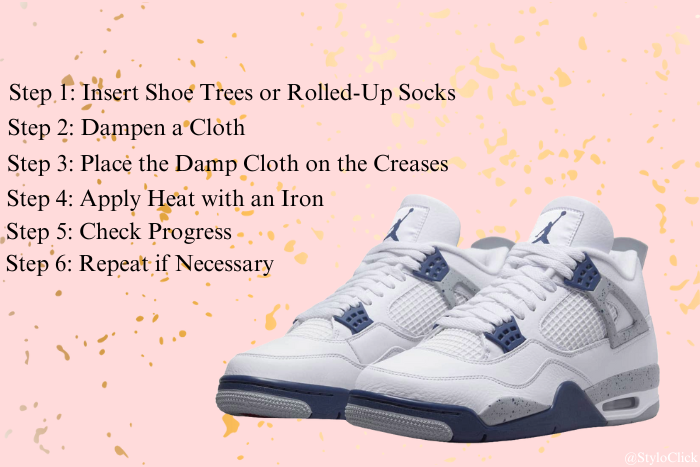
Step 1: Insert Shoe Trees or Rolled-Up Socks
The first crucial step is to insert shoe trees or rolled-up socks. This will remove creases from shoes. Shoe trees mimic the foot shape, providing gentle pressure to stretch material and hold form. If you don’t have shoe trees, rolled-up socks can serve as an affordable alternative. Roll up socks and place them inside the shoes, ensuring they fill the toe box and other creased areas. Shoe trees mimic the foot shape, providing gentle pressure to stretch material and hold form.
Step 2: Dampen a Cloth
Dampen a cloth with water to soften the shoes and make them more flexible. The cloth should be very damp, not too wet, to avoid damaging materials. The moisture from the damp cloth will help smooth out the wrinkles when applying heat later. This step prepares the shoes for re-shaping by making the material more flexible.
Step 3: Place the Damp Cloth on the Creases
After dampening the cloth, the next step is to lay it over the creased areas of the shoes. This allows the moisture directly softens the material making it easier to work with. The damp cloth protects the shoes from direct heat by acting as a barrier. By focusing moisture on the creases, you prepare the shoes to smooth wrinkles. Applying the heat with an iron makes the material pliable for reshaping.
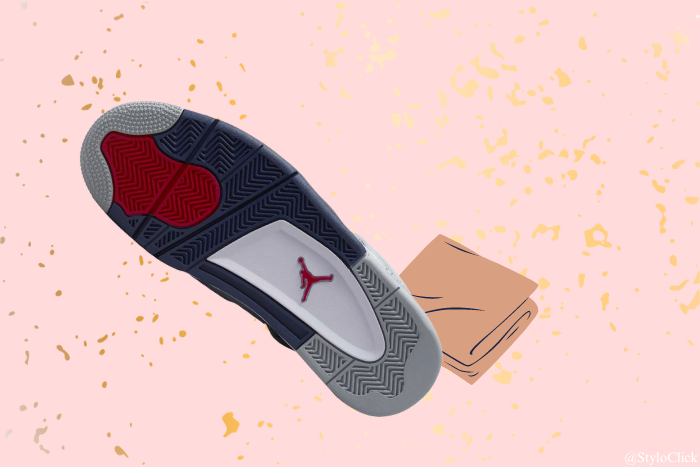
Step 4: Apply Heat with an Iron
With the damp cloth in place, it’s time to apply heat with an iron to the creased areas of the shoes. Set the iron to a low heat setting to avoid damaging the material. Place a towel or cloth over the damp cloth on the shoes to protect them from direct heat. Press the iron onto the towel-covered damp cloth, moving it back and forth over the creased areas. The combination of heat and moisture helps to relax the material and smooth out the wrinkles. Be careful not to leave the iron in one spot for too long to prevent overheating and potential damage to the shoes. This step requires gentle pressure to gradually work out the creases and restore the shoes.
Step 5: Check Progress
After applying heat with the iron, it’s important to check the progress of crease removal. Remove the towels covering the damp cloth and examine the creased areas of the shoes. You should start to notice a reduction in the creases as the material relaxes. If the creases still show, try dampening the cloth again and heating it with the iron to check progress. Take your time, as it may several rounds of heat to achieve the results. This step lets you check how well the crease removal worked and decide if more is needed.
Step 6: Repeat if Necessary
Don’t give up if, even after the first round of heat application, the wrinkles are still visible. It may be necessary to repeat the process to further diminish the creases. Start by dampening the cloth again and laying it over the creased areas. Apply heat with the iron using the same gentle pressure and back-and-forth motion as before. Check the progress to see if the creases are continuing to fade. Repeat this process as many times as necessary until you are satisfied with the results. Be patient and persistent, as stubborn creases may need many treatments to smooth out fully. This step ensures you thoroughly remove creases and restore shoes to their original condition.
Tips:
- Use a lower heat setting on the iron to avoid damaging the shoes.
- Always use a towel or cloth between the iron and the shoes to protect them from direct heat.
- Don’t rush the process. Take your time and work on the creases.
Conclusion
You can easily remove creases from shoes at home with a few tools and patience. Following these steps and tips, you can restore your shoes to their original smooth appearance and prolong their lifespan.
I hope this article will you to know, how to remove creases from shoes step-by-step guide.
Related Query: How to Clean dog poop off Shoes
Related Query: How to Get Grass Stains Out of Shoes
Related Query: How to Clean Suede Shoes
FAQs
1. Can I use a hairdryer instead of an iron?
- While a hairdryer can provide heat, it may not be as effective as an iron for removing creases. The iron allows for more direct and consistent heat application.
2. Will this method work on all types of shoes?
- This method is generally safe for most types of shoes, including leather, suede, and canvas. Yet, it’s always a good idea to test a small, inconspicuous area first to ensure no damage occurs.
3. Can I use a hairdryer on suede shoes to remove creases?
- It’s not recommended to use a hairdryer on suede shoes as the heat can damage the delicate material. Optimize for the steam method or stuffing with paper for suede shoes.
4. How long should I leave paper stuffed in my shoes to remove creases?
- Leave the paper in your shoes overnight or for a few days to allow the material to reshape. Check the creases periodically and repeat the process if necessary.
5. Will removing creases affect the durability of my shoes?
- No, using gentle methods to remove creases should not harm your shoes. It can improve comfort and prolong the life of the footwear.
Pingback: How to Stop Leather Shoes From Squeaking - 7 Easy Steps
Pingback: How to Deodorize Shoes - 5 Easy Methods
Pingback: How to Remove Mold from Shoes - 5 Easy Steps